Read more about our thermoplastic cable draw pits
Table of Contents
Table of Contents
If you’re an artist or just someone who wants to learn how to draw a pit, then you’ve come to the right place. Drawing a pit can be a challenging task, but with a little bit of practice and some tips and tricks, you can become an expert in no time. So, let’s dive right in!
Pain Points Related to How to Draw a Pit
One of the biggest pain points related to drawing a pit is getting the dimensions right. Pits come in different shapes and sizes, and it’s essential to get the dimensions right to make the drawing look real. Another pain point is getting the shading right to create depth and dimension in the drawing. Lastly, creating a realistic texture for the ground around the pit can be challenging for beginners.
Answer to How to Draw a Pit
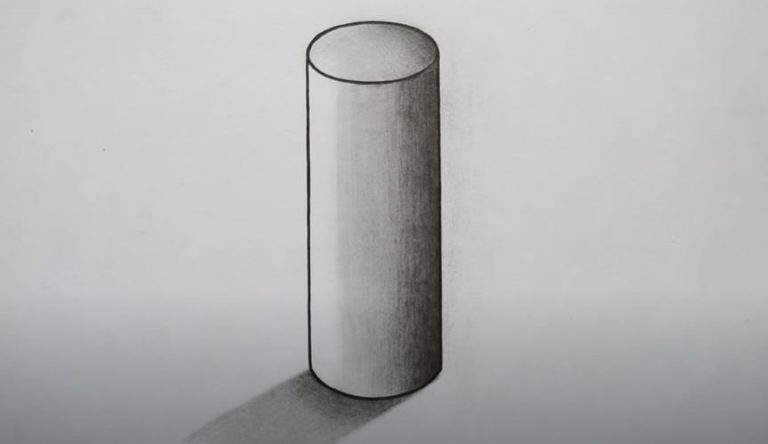
To draw a pit, first, sketch a rough outline of the shape and size you want the pit to be. Make sure to get the dimensions right. Then add thickness to the walls of the pit. Fill the area in the center to show the depth of the pit. Add shading and highlights to give the pit a three-dimensional look. To create texture around the pit, follow the shape of the edges with lines mimicking a rocky texture.
Summary
To summarize, drawing a pit can be challenging, but with practice and following the steps mentioned, anyone can learn to draw a pit that looks realistic. The key is to start with the right dimensions, add depth with shading and highlights, and create texture to make the ground around the pit look like nature intended.
How to Draw a Pit - Step by Step
When I first tried my hand at drawing a pit, I struggled with getting the dimensions right. But after some research and a lot of practice, I learned that starting with a rough outline helps get the proportions right. Once you have the rough shape, add thickness to the walls of the pit, and fill the center. Then, add shading and highlights, making sure the light source is consistent. Lastly, create a realistic texture for the ground around the pit.
 One thing I found helpful when creating texture was to follow the shape of the pit’s edges, always mimicking a rocky texture. Don’t be afraid to practice and try different techniques until you find what works best for you.
Tips for Creating Realistic Depth
Creating depth is essential to make the pit look realistic. One way to achieve this is by adding shadows with shading. Use a darker tone around the edges of the pit and gradually lighten it up towards the center. Be mindful of the light source and use it consistently throughout the drawing. Highlights can also help create depth by adding a shine effect to the pit’s walls.
 ### Creating Realistic Texture
Texture adds dimension and life to the drawing. One way to create a realistic texture is by mimicking nature. Observing nature and adapting it to the drawing is a great way to create a realistic texture. Another way is by using the cross-hatching technique to create a rough texture. Be sure to practice and experiment to find what works best for your style.
 Practice Makes Perfect
Like any skill, drawing takes practice. Don’t be discouraged if your first attempts don’t look perfect. Keep practicing, and you will see progress over time. Use different techniques and experiment until you find what works best for you. And remember, the most important thing is to have fun!
Question and Answer
Q: What is the most challenging part of drawing a pit?
A: Getting the dimensions right can be challenging, but with practice, it becomes more comfortable.
Q: Can I use different techniques to create texture?
A: Yes, try experimenting with different techniques until you find what works best for your style.
Q: What is the best way to create depth?
A: Adding shadows with shading and highlights can help create a realistic depth effect.
Q: Can I use color to enhance my drawing?
A: Yes, color can help bring life to the drawing and make it look more realistic.
Conclusion of How to Draw a Pit
If you’re passionate about drawing and want to learn how to draw a pit, remember that it takes time and practice. Start with a rough outline, add depth through shading and highlights, and create texture to make your drawing look more realistic. And most importantly, have fun and enjoy the process!
Gallery
Read More About Our Thermoplastic Cable Draw Pits - Pipex

Photo Credit by: bing.com / pits
Read More About Our Thermoplastic Cable Draw Pits - Pipex
Photo Credit by: bing.com / pits
Drawing Of A Pitbull By Valyanna8361 On DeviantArt
Photo Credit by: bing.com / pitbull drawing drawings deviantart wallpaper random
Cable Draw Pit Details

Photo Credit by: bing.com /
Read More About Our Thermoplastic Cable Draw Pits - Pipex

Photo Credit by: bing.com / pits